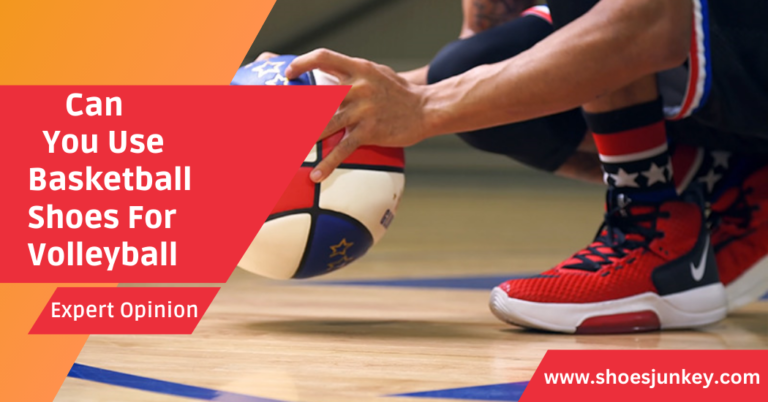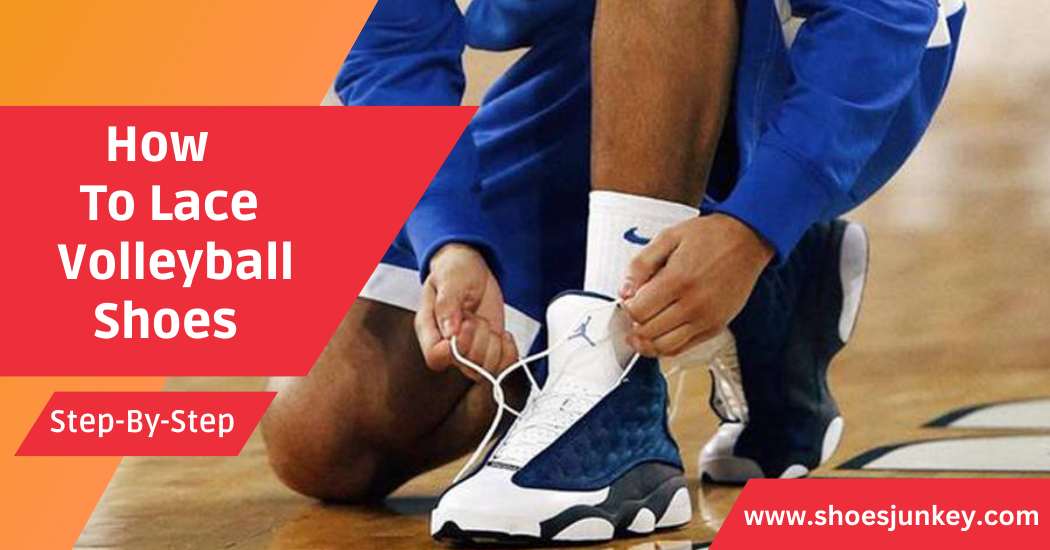
How To Lace Volleyball Shoes?
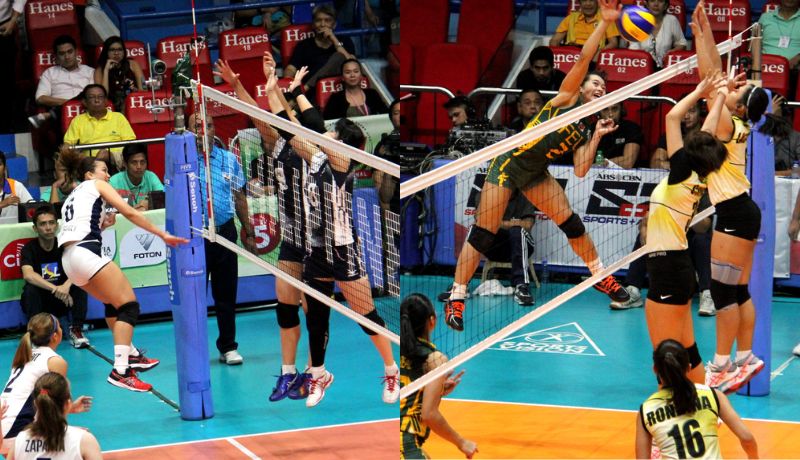
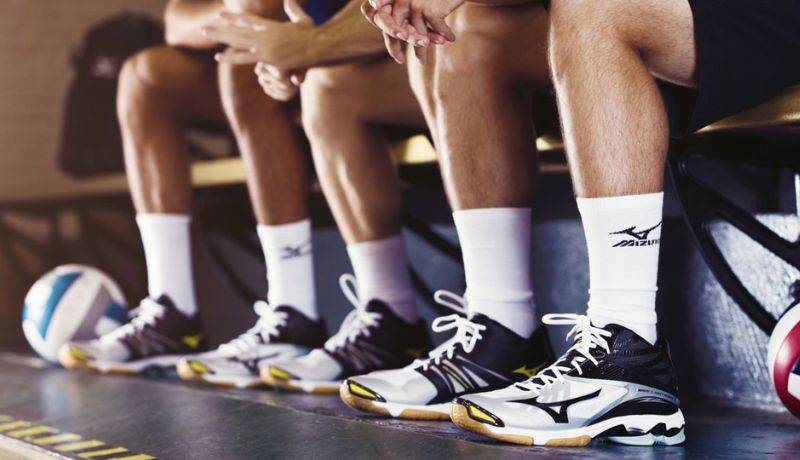
Volleyball is an intense sport that requires quick and agile movements on the court. To play at your best, you need well-fitted shoes that are laced correctly to provide the right level of support, stability and comfort.
In this comprehensive guide, we’ll discuss the importance of properly lacing your volleyball shoes and break down the lacing process step by step. We’ll also explore different lacing techniques to cater to various foot shapes, sizes and specific needs, as well as maintenance and care tips to ensure your shoes remain in top condition.
Types of Lacing and Importance of Proper Lacing
Ensuring your volleyball shoes are laced correctly is crucial for both comfort and performance. Proper lacing helps distribute pressure evenly across your feet, minimizing the risk of blisters and discomfort. It also provides support and stability, essential for the frequent changes in direction and quick stops and starts associated with volleyball.
When it comes to lacing volleyball shoes, there are several techniques you can choose from depending on your foot shape and preferences. Some of the most common methods include:
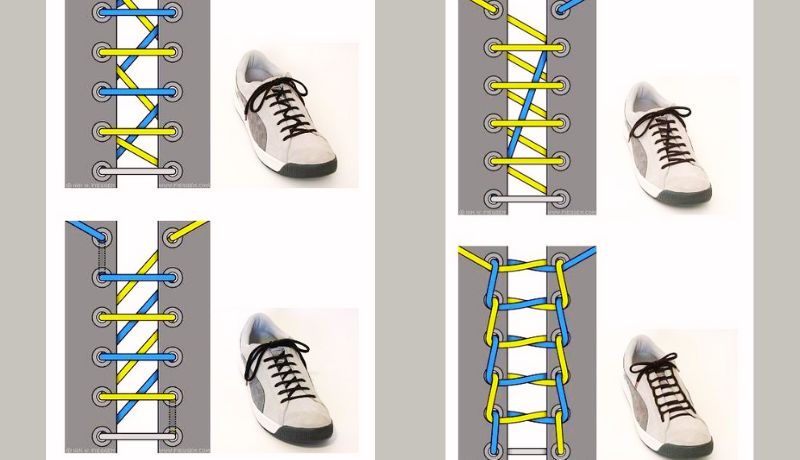
- Standard Criss-Cross Lacing: This is the most traditional lacing method that involves crossing the laces in an “X” pattern over the top of the shoe. It provides good overall support and pressure distribution.
- Diagonal Lacing: This technique involves lacing the shoes in parallel diagonal lines, which can reduce pressure on the top of the foot and allow for more customized tightness adjustments.
- Loop Lacing: This method involves creating two loops on each side of the shoe and threading the lace through them. This helps distribute pressure and provides a secure fit for players with high arches or narrow feet.
- Lock Lacing: Lock lacing is an excellent choice for those who desire extra ankle stability and heel support. It includes an additional “lock” loop that prevents heel slippage.
Materials Needed
To effectively lace your volleyball shoes, gather the following materials:
- Volleyball shoes
- Athletic socks
- Laces (pre-measured if necessary)
- Lace locks (if using lock lacing)
Step-by-Step Lacing Guide
Here’s a detailed breakdown of the lacing process for each technique mentioned above:
Standard Criss-Cross Lacing
Begin by threading the lace through the bottom eyelets, making sure both ends are even.
- Cross each lace end over to the opposite side, threading them through the next set of eyelets.
- Continue this process, threading each lace end over to the opposite side and through the next set of eyelets, until you reach the top.
- At the top eyelet, you have the option to tie a standard bow or use lace locks for a more secure fit.
This simple yet effective lacing technique supports a wide range of foot shapes and sizes. It’s also easy to adjust for comfort, allowing you to tighten or loosen the laces as needed.
Diagonal Lacing
- Start the same way as with the standard technique, threading the lace through the bottom eyelets.
- Pass one lace end diagonally up to the next eyelet on the same side.
- Cross the lace over to the opposite side and thread it through the eyelet directly above.
- Repeat steps 2 and 3, alternating sides, until you reach the top eyelets.
Loop Lacing
- Begin with the standard criss-cross technique until you reach the second-to-last eyelets.
- Bring the lace up to the top eyelet on the same side, forming a loop.
- Repeat on the other side.
- Cross the laces over the top of the shoe and thread them through each loop.
Lock Lacing
- Begin with the standard criss-cross technique until you reach the second-to-last eyelets.
- Take one lace end and bring it up through the middle eyelet on that side, forming a loop.
- Wrap this same lace end around the other one and thread it through the loop.
- Repeat on the other side, making sure to keep the loops tight for extra support.
- Cross the laces over the top of the shoe and thread them through each loop, as in loop lacing.
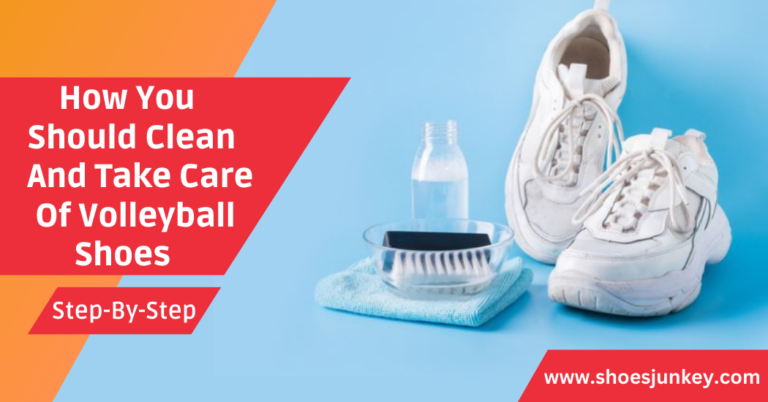
Maintenance & Care Tips of Shoe
- Avoid over-tightening the laces – this can cause discomfort and restrict circulation.
- Always remove wet or damp socks before putting on new socks and re-lacing your shoes.
- Use a shoe cleaner or mild detergent to clean the uppers of your shoes after every game.
- When not in use, store them in a cool, dry place away from direct sunlight.
Once you’ve mastered your preferred lacing technique, it’s important to take care of your shoes to make sure they remain in top condition. Here are some tips for prolonging the life of your volleyball shoes:
By following these tips and lacing techniques properly, you can ensure you’re always playing at your best with maximum comfort and stability. Now you have the knowledge and tools to get lacing your volleyball shoes!
Remember that when it comes to lacing, practice makes perfect – so don’t be afraid to experiment with different methods and techniques until you find the one that works best for you.
With all of these tips, you should be well on your way to lacing up your volleyball shoes like a pro. Whether you’re a rookie getting ready for the first big game or an experienced player preparing for the next tournament, always remember to give special attention to lacing and knotting properly so that your foot can stay secure while you’re playing.
Wrap up:
Don’t overlook the significance of tying and lacing correctly because it can make or break how successful your game play is. The method that you use to lace up your shoes should give your feet extra stability against any rough movements.
The perfect fit gives you plenty of cushioning, maintains the shoe’s integrity and keeps your foot from sliding around inside by not restricting too much but also not too loosely knotted. Now that you know how to tie up your shoes before heading onto the court, it’s time to get out there and start practicing – go get ’em!